There are 3 common ways to authenticate someone:
- Something you know, such as a login/password or security questions
- Something you have, such as a smart card, a cell phone, an ID, etc.
- Something you are, such as a fingerprint or other biometric methods
In previous posts, I wrote about authentication using passwords (something you know). To add more security, you require a second factor – this is known as two-factor authentication (2FA). Typically, a dedicated device or smartphone generates a one-time code that you enter after your password. Even if your password is compromised, an attacker still cannot access your account. Some devices further increase security by requiring a fingerprint before generating the code, which effectively gives you three-factor authentication.
ASP.NET Core provides everything you need to enable two-factor authentication. The template allows you to authenticate using a password and a token generated by an application such as Microsoft Authenticator or Google Authenticator.
First, create a new project using the command line in an empty directory:
Shell
dotnet new razor --auth Individual
This creates a new project using Razor Pages and ASP.NET Core Identity to authenticate users. Users are stored in a SQLite database. Create the database with the following command:
Shell
dotnet ef database update
If you skip this step, an error page will appear the first time the application accesses the database, and you can create it from there.
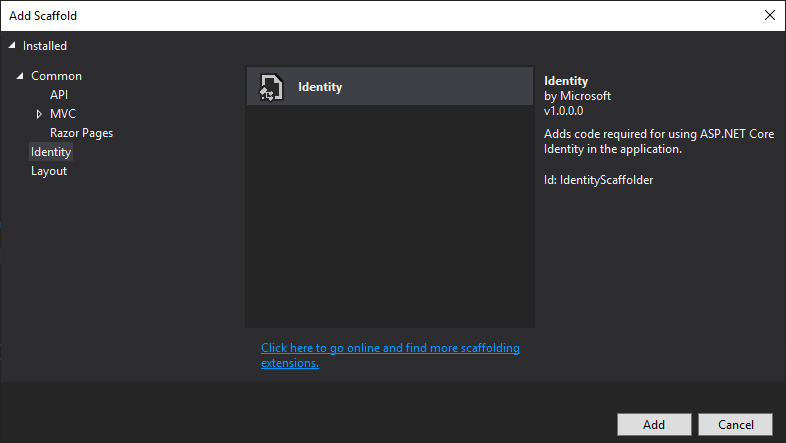
By default, the authentication pages are not generated in the project. They are loaded from a NuGet package, which lets you override only the pages you need. This is convenient because there are many pages and it is easier to maintain when the template is updated. In our case, we need to update one page to display a QR code that users can scan with their phone. You can scaffold it using the command line, or using Visual Studio. In this post, I'll use Visual Studio.
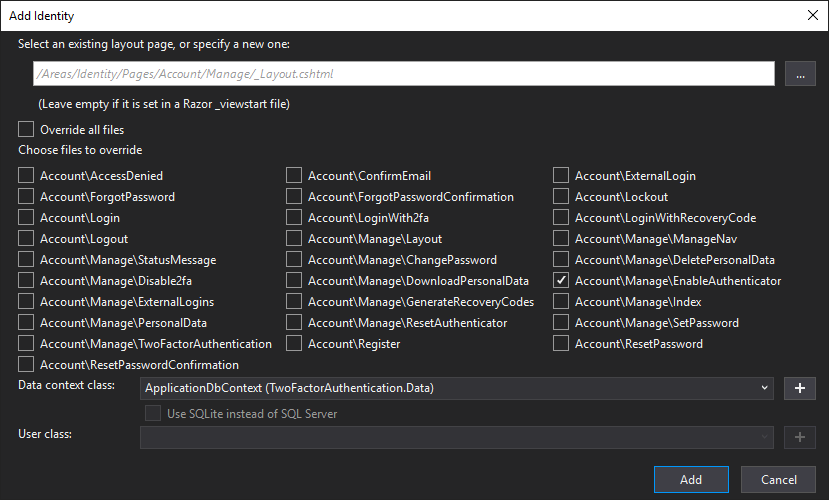
Select the pages to scaffold. In our case, select Account\Manage\EnableAuthenticator.
Then, download qrcode.js and place the file qrcode.min.js under wwwroot/lib/qrcode. You can now use the library to generate the QR code on the EnableAuthenticator.cshtml page. At the end of the file, add the following code:
HTML
@section Scripts {
    <partial name="_ValidationScriptsPartial" />
    <script src="~/lib/qrcode/qrcode.min.js"></script>
    <script type="text/javascript">
        new QRCode(document.getElementById("qrCode"),
            {
                text: "@Html.Raw(Model.AuthenticatorUri)",
                width: 200,
                height: 200
            });
    </script>
}
The page should now look like:
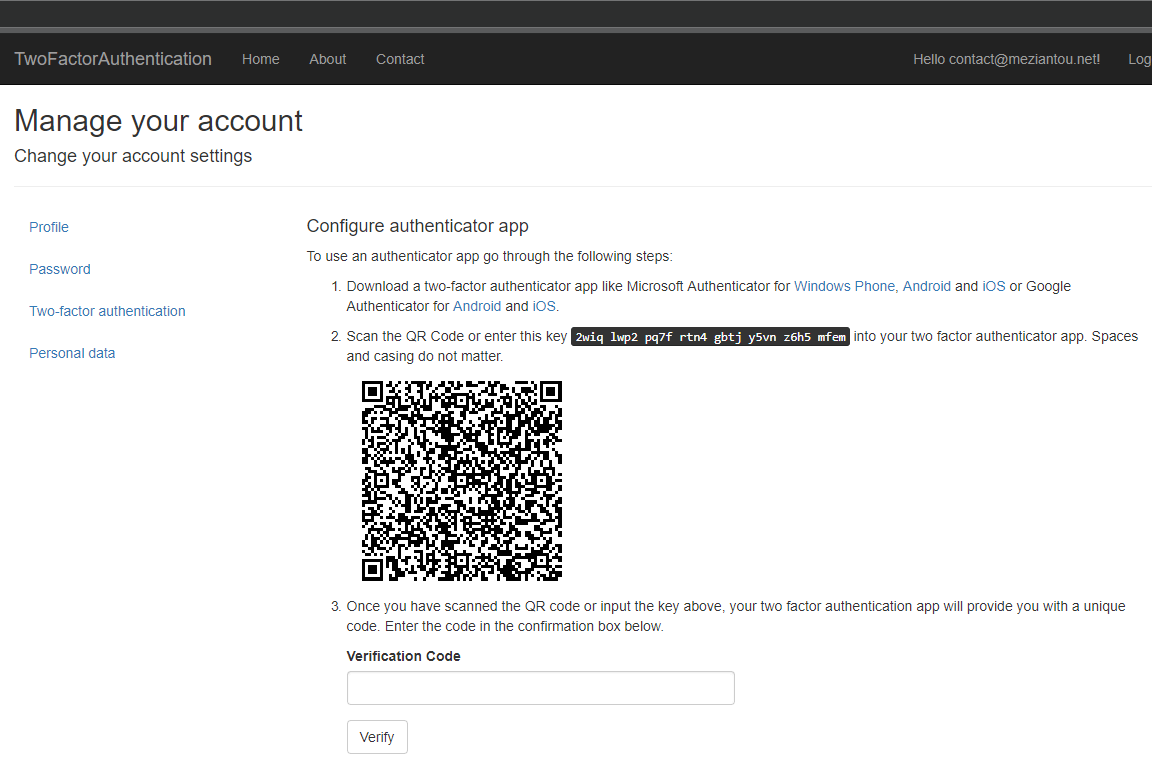
If you scan the code on Microsoft Authenticator, you'll get a new code every 30 seconds. Enter the current code in the verification code field to finish the configuration of the 2FA.

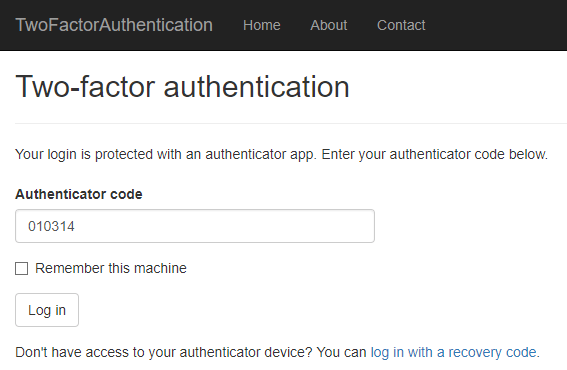
After logging in with your username and password, you'll be redirected to the two-factor authentication page. Open the authenticator app you used to configure 2FA and enter the code currently displayed:
You are now authenticated!
Thanks to ASP.NET Core, it's so simple to enable 2FA on your web application!
Do you have a question or a suggestion about this post? Contact me!