Visual Studio Code is an excellent IDE for TypeScript. Although VS Code is a lightweight source editor, it is remarkably powerful. It supports many languages such as C++, C#, Java, Python, PHP, and Go, but TypeScript enjoys first-class integration. VS Code lets you write TypeScript with autocompletion, refactoring, error reporting, quick fixes, automatic builds, debugging, and more. In this post, we'll see how to set up your first TypeScript project with VS Code.
#Install Visual Studio Code and TypeScript
Install VS Code: https://code.visualstudio.com/
Install NodeJS : https://nodejs.org/
Install TypeScript using the following command line:
Shell
npm install -g typescript
Check TypeScript is installed
Shell
tsc --version
#Create a project
Create a new folder that will contain the sources
Create a tsconfig.json with the following content (you can use the command tsc --init):
JSON
{
    "compilerOptions": {
        "target": "es5"
    }
}
Create an src folder
Add an empty TypeScript file in the src folder
The file structure should be like:
MyTypeScriptProject
├── src
│   └── main.ts
└── tsconfig.json
#Compile the project
Open the command palette using CTRL+SHIFT+P, and type "Tasks":
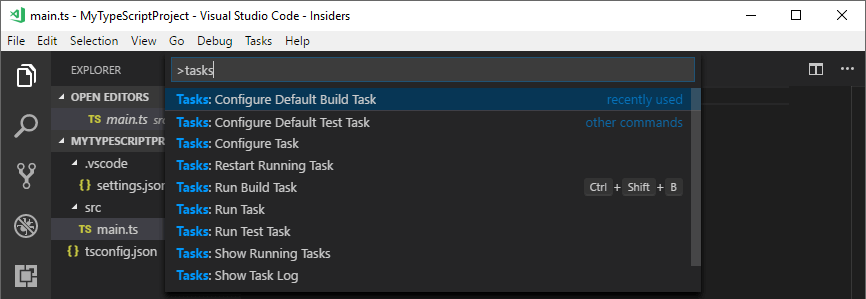
Select "Configure Default Build Task", then select "tsc:watch"

This will create a new file .vscode/tasks.json with the following content:
JSON
{
    // See https://go.microsoft.com/fwlink/?LinkId=733558
    // for the documentation about the tasks.json format
    "version": "2.0.0",
    "tasks": [
        {
            "type": "typescript",
            "tsconfig": "tsconfig.json",
            "option": "watch",
            "problemMatcher": [
                "$tsc-watch"
            ],
            "group": {
                "kind": "build",
                "isDefault": true
            }
        }
    ]
}
You can now build your TypeScript files by pressing CTRL+SHIFT+B. After compilation succeeds, you should see a new file main.js in the explorer:
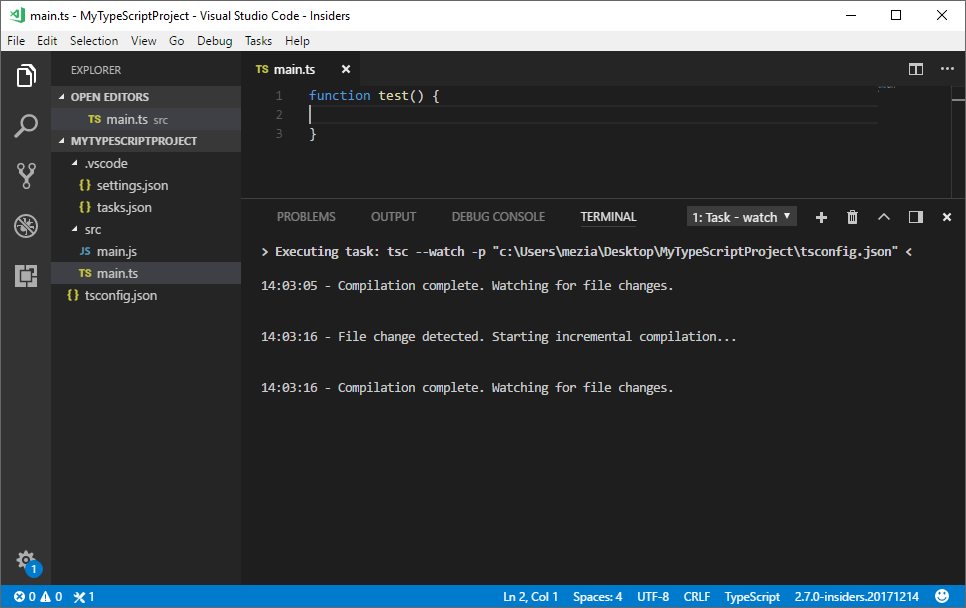
The task is a watch task, so TypeScript will run automatically when you change a TypeScript file.
#Hide the JavaScript file from the Explorer
After compiling the TypeScript files, you'll have both .ts and .js files in the VS Code Explorer. Since you'll never edit the generated JS files, you can simply hide them.
- Open the settings: File -> Preferences -> Settings
- Select "Workspace settings" in the right panel
- Add the following json
JSON
{
    "files.exclude": {
        "**/*.js": true
    }
}

The workspace settings are saved in .vscode/settings.json, so this will apply only for the current project.
#Conclusion
You are now ready to use Visual Studio Code for your TypeScript projects.
Do you have a question or a suggestion about this post? Contact me!